The Perfect Crown Hairstyle Guide Updos, Braided Crowns & Royal-Inspired Looks for 2026
The Perfect Crown Hairstyle Guide: Updos, Braided Crowns & Royal-Inspired Looks for 2026
There is something undeniably powerful about a crown hairstyle. When your hair is swept up and away from your face — whether in an elegant braided crown, a regal updo, or a loosely romantic pinned style — you carry yourself differently. You feel like royalty. And in 2026, crown hairstyles have evolved into some of the most creative, versatile, and breathtakingly beautiful looks in the world of hair.
Whether you are preparing for a wedding, a special occasion, a photoshoot, or simply want to elevate your everyday look — this complete guide covers every type of crown hairstyle, from classic to contemporary, simple to spectacular.
What Is a Crown Hairstyle?
A crown hairstyle is any style where hair is arranged around the top of the head to create the visual effect of a crown or halo. This includes:
- Braided crowns — braids wrapped around the top of the head
- Floral crowns — flowers woven into upswept hair
- Twisted crowns — rope or flat twists formed into a circular crown shape
- Updo crowns — pinned styles that create a regal, elevated silhouette
- Half-up crowns — the top section styled as a crown while the rest falls freely
Crown hairstyles work on every hair length (from short to very long), every hair texture (straight, wavy, curly, and coily), and for every occasion from casual to the most formal events imaginable.
Why Crown Hairstyles Are Having Their Biggest Moment in 2026
Crown hairstyles have always been beautiful — but 2026 has brought specific trends that have elevated them to a new level:
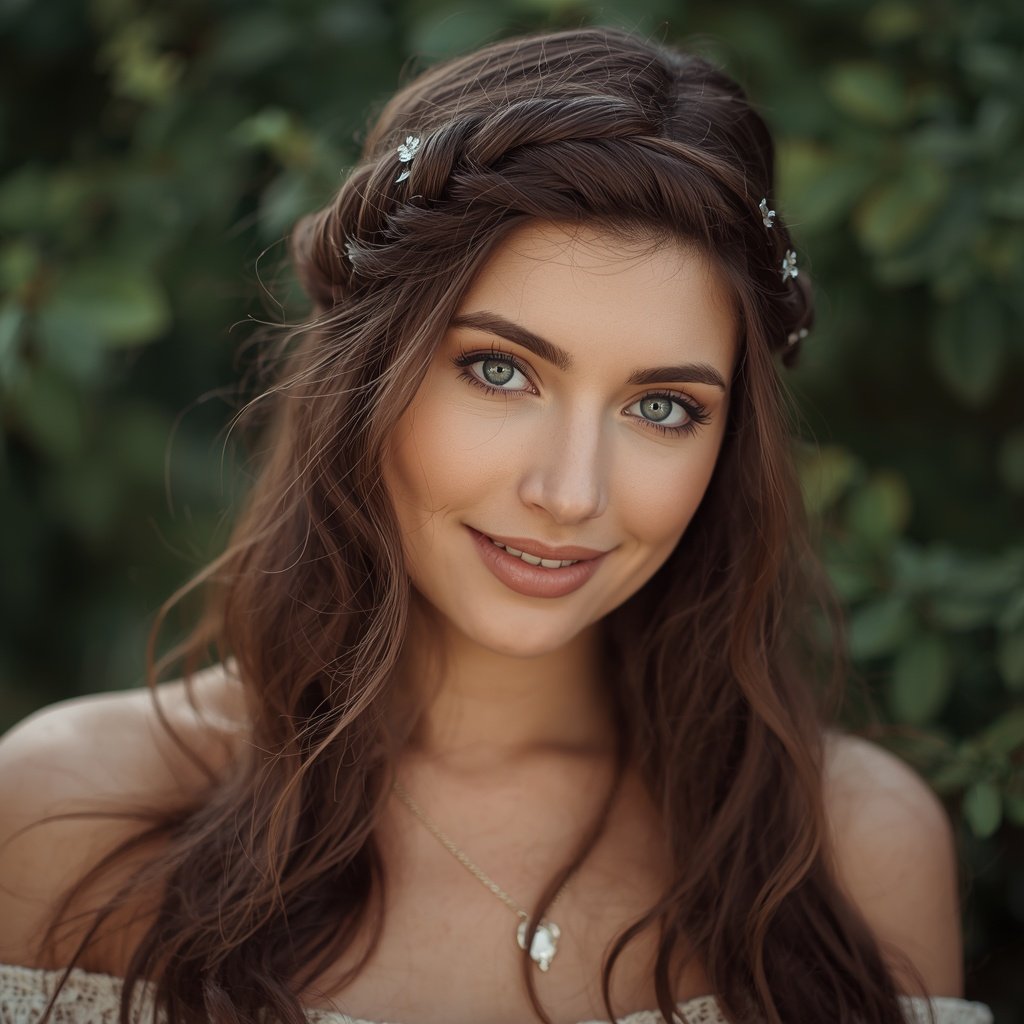
Textured and undone crowns — The perfectly imperfect aesthetic dominates. Loose, slightly undone braided crowns with face-framing pieces pulled out look more modern and accessible than tightly structured formal styles.
Floral integration — Fresh, dried, and preserved flowers woven through crown braids and updos are everywhere — from bridal looks to festival hair.
Embellished crowns — Gold cuffs, pearl pins, crystal accessories, and delicate chain headpieces are being incorporated into crown hairstyles for a jewel-encrusted regal effect.
Natural texture celebration — Crown hairstyles on natural, curly, and coily hair are being embraced and celebrated as never before — with styles specifically designed to showcase natural texture rather than suppress it.
Bohemian meets royal — The combination of romantic, flowing elements with structured crown placement creates the signature aesthetic of 2026: effortlessly regal.
BRAIDED CROWN HAIRSTYLES
1. The Classic Dutch Braid Crown
Skill level: Intermediate | Time: 20–30 minutes | Best for: All hair types
The Dutch braid crown is the most iconic and recognizable crown hairstyle — two Dutch braids meeting at the top of the head to create a complete, symmetrical braid crown. It is elegant, secure, and works beautifully from casual to formal occasions.
How to create it:
- Part hair down the center from forehead to nape
- Begin a Dutch braid (braid underneath, not over) on the left side at the hairline near the temple
- Continue braiding along the hairline, picking up sections and adding them to the braid as you work toward the back of the head
- Secure with a small elastic when you reach the nape
- Repeat on the right side
- Bring the right braid up and over the top of the head, pinning it behind the left ear
- Bring the left braid up and over, pinning it behind the right ear
- Pin all loose ends underneath the opposite braid
- Gently pull the braid sections to loosen and create volume
- Secure with bobby pins and finish with hairspray
2026 styling tip: Pull out several pieces at the temples and nape before beginning. These face-framing tendrils soften the overall look and create the romantic, undone aesthetic that defines modern crown hairstyles.
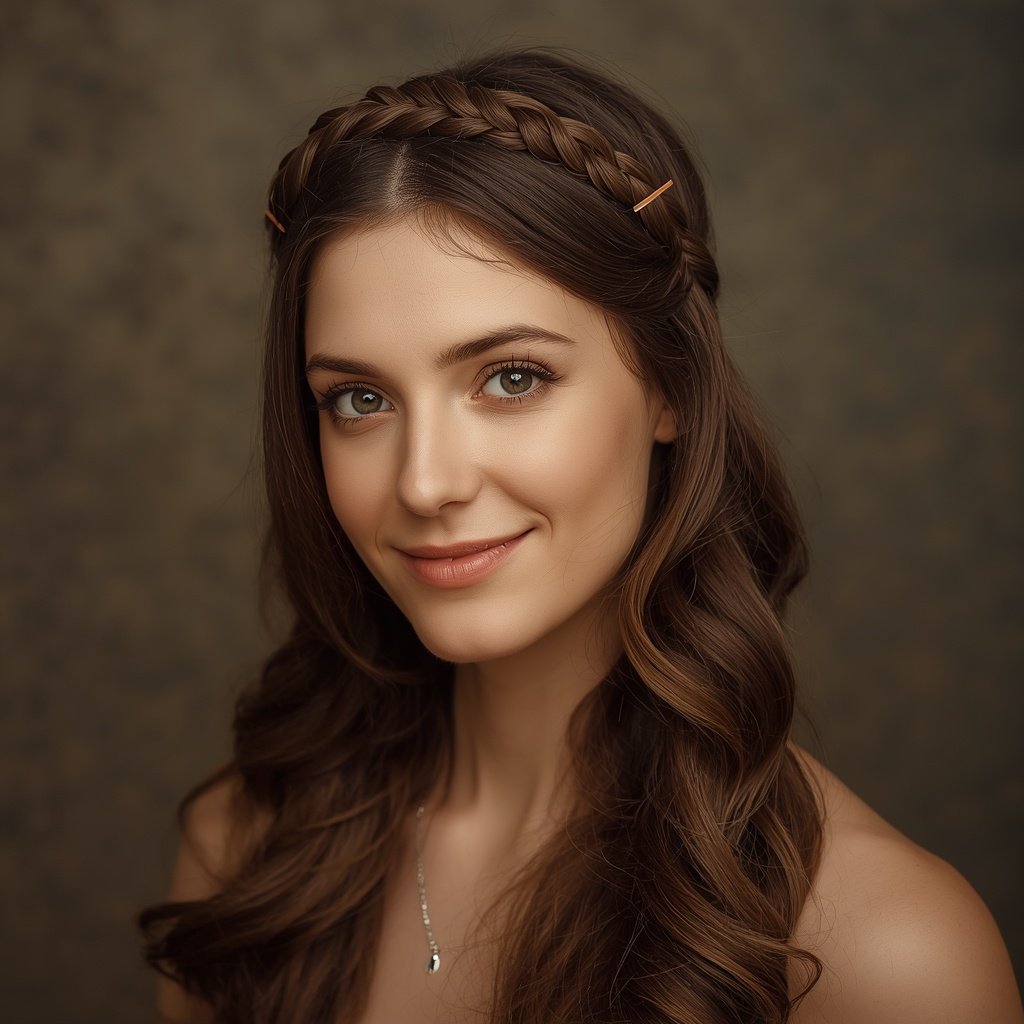
2. The Halo Braid
Skill level: Intermediate | Time: 25–35 minutes | Best for: Long, medium hair
The halo braid creates a single continuous braid that wraps all the way around the head — from hairline to hairline — like a halo. It is one of the most strikingly beautiful crown styles available and photographs exceptionally.
How to create it:
- Create a side part (a center part works but a side part creates more visual interest)
- Begin a regular three-strand braid or a Dutch braid at one side of the hairline
- Continue braiding along the hairline, incorporating all hair as you move around the head
- Work continuously around the head, staying close to the hairline
- When you have gone all the way around, secure the end and tuck it under the beginning of the braid
- Pin securely with bobby pins
- Gently loosen the braid sections for a fuller, more voluminous halo effect
The secret to a beautiful halo braid: The looser the braid, the more impressive the effect. After completing the braid, take time to carefully loosen each section before pinning — a tight, small halo braid looks less impactful than a voluminous, slightly messy one.
3. The Milkmaid Braid Crown
Skill level: Easy–Intermediate | Time: 15–20 minutes | Best for: Medium to long hair
The milkmaid braid is one of the most accessible and widely beloved crown styles — two braids on either side of the head that are lifted and pinned across the top of the head, crossing each other.
How to create it:
- Part hair down the center
- Create two braids — one on each side — starting just behind the ear and braiding all the way to the end
- Secure each braid with a small elastic
- Take the right braid and lift it across the top of the head, pinning it above the left ear
- Take the left braid and lift it across the top, pinning it above the right ear
- Tuck any loose ends underneath and pin securely
- Pull out face-framing pieces for softness
The milkmaid braid looks spectacular with: Fresh flowers tucked between the braids, pearl or gold pins scattered throughout, or a delicate headchain placed over the braided crown.
4. The Fishtail Crown Braid
Skill level: Intermediate | Time: 25–40 minutes | Best for: Medium to long hair
The fishtail braid creates a more intricate, textured crown than a traditional three-strand braid — the interlocking pattern of the fishtail catches the light beautifully and appears more complex than it is to execute.
How to create it:
- Divide hair into two sections at the nape of the neck
- Take a thin piece from the outside of the right section and cross it to the inside of the left section
- Take a thin piece from the outside of the left section and cross it to the inside of the right section
- Continue this pattern all the way down
- Secure and wrap the fishtail braid around the head, pinning to create the crown shape
- Gently stretch the braid to create a fuller, more textured appearance
5. The Boho Braided Crown
Skill level: Intermediate | Time: 30–40 minutes | Best for: All lengths and textures
The bohemian braided crown combines multiple braid types, loose pieces, and decorative elements into a beautifully relaxed, festival-inspired crown. No two boho crowns look exactly alike — which is part of their appeal.
Key elements of a boho crown:
- Mix of Dutch braids, regular braids, and loose sections
- Deliberately undone, slightly messy finish
- Face-framing tendrils left loose or lightly curled
- Flowers, feathers, or bohemian hair accessories woven throughout
- A combination of pinned sections and free-flowing pieces
How to create a boho crown:
- Leave several face-framing pieces loose at the front
- Create a Dutch braid on one side, starting at the temple and working toward the back
- Incorporate sections from across the top of the head as you braid
- When you reach the opposite side, wrap and pin the braid behind the opposite ear
- Gather remaining hair into a loose bun or twist and pin at the back
- Decorate with flowers, pins, or accessories
- Loosen everything generously for that perfectly imperfect boho finish
6. The Natural Hair Crown Braid
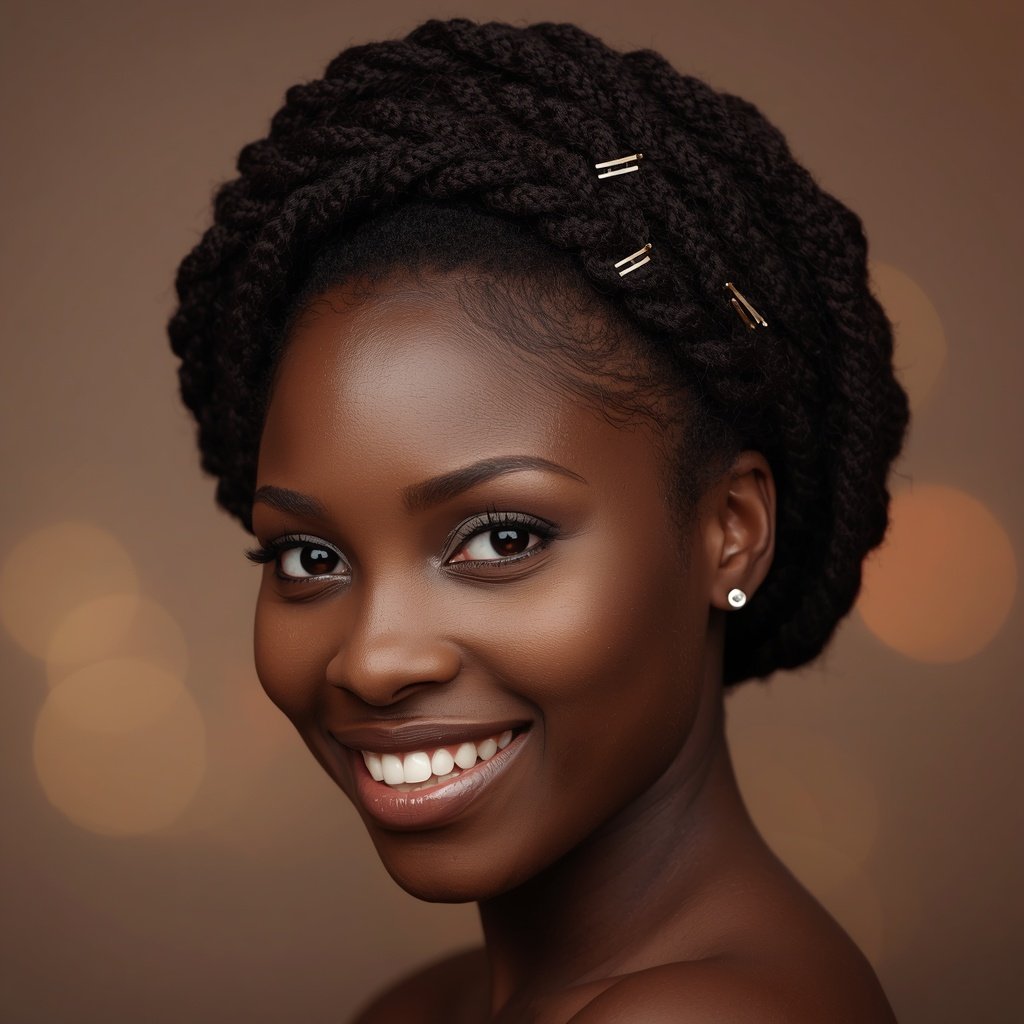
Skill level: Intermediate | Time: 30–45 minutes | Best for: Type 3–4 natural hair
Crown braids on natural, curly, and coily hair are among the most stunning hairstyles available — showcasing the beautiful texture and thickness of natural hair in a regal, elevated style.
Techniques for natural hair crown styles:
Flat twist crown: Create two flat twists on either side, following the hairline. Lift and pin across the top to create a crown. Stunning on Type 3–4C hair.
Cornrow crown: Three to five cornrows on each side of the head, following the hairline and meeting at the top. Can be styled with or without extensions for added length and fullness.
Twist-out crown: Create a twist-out (two-strand twists throughout the hair, then unraveled after drying). Pin the top sections into a crown shape while leaving the rest full and free. One of the most impressive natural hair crown styles.
Bantu knot crown: Create Bantu knots across the top of the head only, leaving the sides and back natural. The contrast between the intricate knot crown and the full natural hair below is breathtaking.
UPDO CROWN HAIRSTYLES
7. The Chignon Crown
Skill level: Intermediate | Time: 15–25 minutes | Best for: All hair types, formal occasions
The elevated chignon — positioned higher on the head than a traditional low chignon — creates a naturally crown-like silhouette that reads as immediately regal and sophisticated.

How to create an elevated chignon crown:
- Gather hair into a high ponytail at the crown of the head
- Twist the ponytail clockwise while simultaneously wrapping it around its own base
- Tuck the ends under the base and pin securely with multiple bobby pins
- Gently pull sections of the bun to create volume and softness
- Pull out small face-framing tendrils
- Secure with a light-hold hairspray
2026 version: Add decorative elements — pearl pins scattered throughout, a delicate gold chain draped around the bun, or fresh flowers tucked between the pinned sections.
8. The Twisted Crown Updo
Skill level: Easy | Time: 10–15 minutes | Best for: Medium to long hair, all textures
One of the most accessible crown styles — sections of hair are twisted and wrapped around each other to create a soft, organic crown shape at the top of the head.
How to create it:
- Leave face-framing sections free at the front
- Take a section from the right side of the head and twist it upward
- Wrap it across the top of the head and pin at the center
- Take a section from the left side and twist it upward
- Wrap it across, overlapping the first twist, and pin at the center
- Continue gathering sections from around the head, twisting and pinning
- Tuck all ends underneath and pin securely
- Adjust and loosen sections to create the desired shape
Why this style is perfect for beginners: Even if the twists are imperfect, the overall effect is beautiful. The deliberately organic, imperfect nature of this style means it works beautifully even for those with limited styling experience.
9. The Princess Updo
Skill level: Advanced (or professional) | Time: 30–45 minutes | Best for: Formal occasions, weddings
A full, formal updo that creates the most dramatic and regal crown effect — inspired by the elaborate hairstyles of royalty and featuring sculpted waves, intricate pinning, and decorative accessories.
Key elements:
- Smooth, polished sections (contrast with the undone trend for a truly formal look)
- Height at the crown for maximum impact
- Vintage-inspired wave or roll elements at the sides
- Elaborate decorative accessories — tiara, jeweled pins, or floral arrangement
Best achieved at a salon: The princess updo is one of the few styles on this list where professional help is genuinely recommended — both for the technical skill required and the durability needed for a long formal event.
10. The Messy Bun Crown
Skill level: Easy | Time: 5–10 minutes | Best for: Everyday elegance, casual occasions
The elevated messy bun — positioned at the crown of the head rather than the typical low or mid-height position — creates a casual but instantly elegant crown effect with minimal effort.
How to create it:
- Apply a volumizing product to roots and blow dry for extra volume
- Gather all hair to the very top of the head — higher than a typical high ponytail
- Secure loosely with a hair tie — do not pull all the way through on the last wrap, leaving a loop
- Fan out the loop into a bun shape
- Pull out pieces from the bun and from the sides for a deliberately undone look
- Secure loose pieces with bobby pins
- Scrunch and adjust until you achieve the desired level of undone elegance
HALF-UP CROWN HAIRSTYLES
11. The Half-Up Braided Crown
Skill level: Easy–Intermediate | Time: 15–20 minutes | Best for: All hair lengths and types
The most versatile crown style — the top section of hair is braided or twisted into a crown while the remaining hair falls freely. It works for every occasion from casual to formal and suits every hair type.
How to create it:
- Take a section from each side of the head — roughly from temple to ear
- French or Dutch braid each section toward the back of the head
- Where the two braids meet at the center back, secure them together
- Tuck the ends and pin to create a neat crown effect
- Leave the remaining hair down — straight, wavy, or in natural curls
- Pull out face-framing pieces for softness
Variations:
- Twist instead of braid for an even simpler version
- Create a small bun where the two sections meet instead of tucking and pinning
- Add a decorative clip or barrette at the meeting point
12. The Half-Up Bow Crown
Skill level: Easy | Time: 5–10 minutes | Best for: All hair types
The hair bow — one of the biggest hair trends of recent years — translated into a half-up crown style creates the most adorable and surprisingly versatile look. It works as casually or formally as you dress it.
How to create it:
- Take the top section of hair and create a half-up ponytail
- On the last pull-through of the elastic, do not pull all the way — leave a loop
- Split the loop into two sections to form the bow shape
- Take the remaining tail of hair and wrap it over the center of the bow, securing underneath with a pin
- Adjust each side of the bow to equal size
- Secure with additional pins if needed and spray lightly
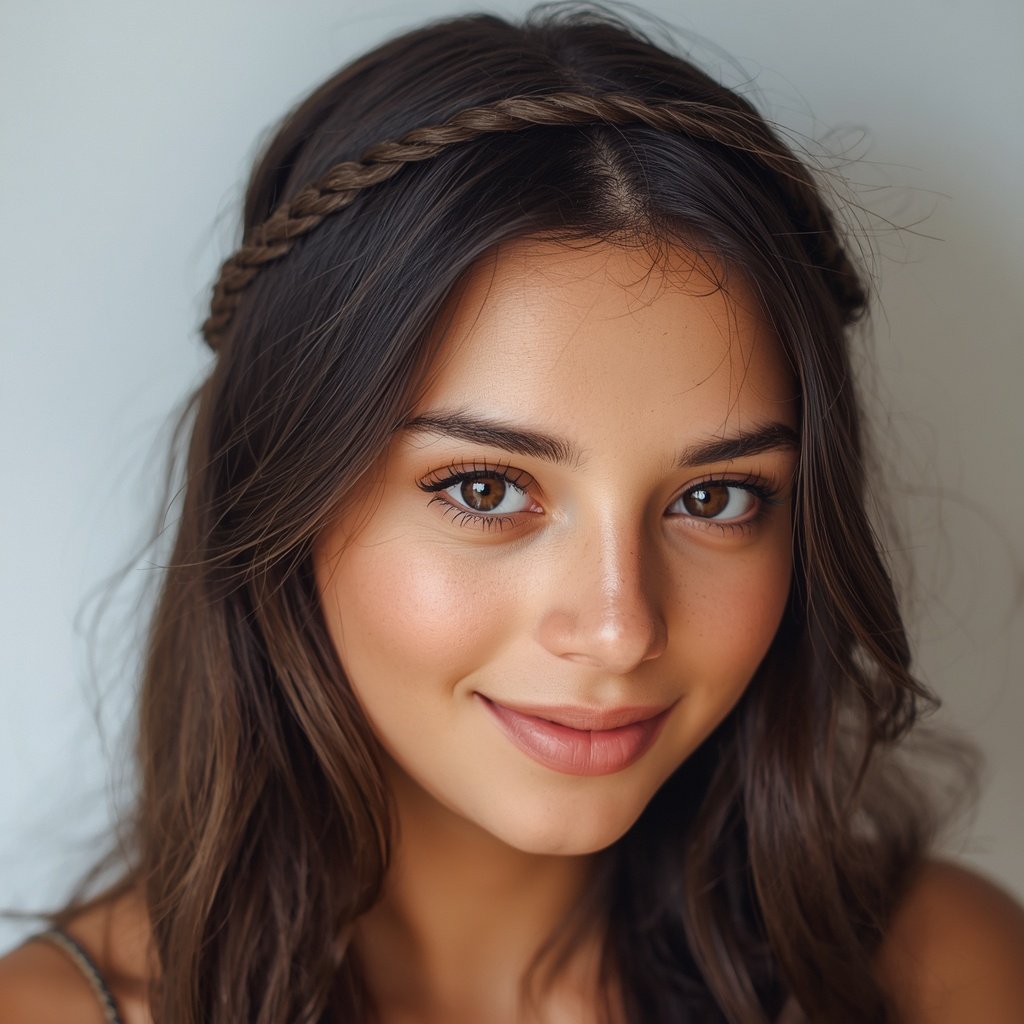
13. The Twisted Half-Up Crown
Skill level: Easy | Time: 5–10 minutes | Best for: All hair lengths
Two sections from the front of the head are twisted away from the face and pinned at the back, creating a soft, romantic crown effect that frames the face beautifully.
How to create it:
- Take a section from each side of the head, starting at the temple
- Twist each section away from the face (outward and upward)
- Bring both twists together at the back of the head
- Secure where they meet with a decorative clip, bobby pins, or a small elastic
- Gently loosen the twists for a softer appearance
- Leave the remaining hair down
DECORATED AND EMBELLISHED CROWN STYLES
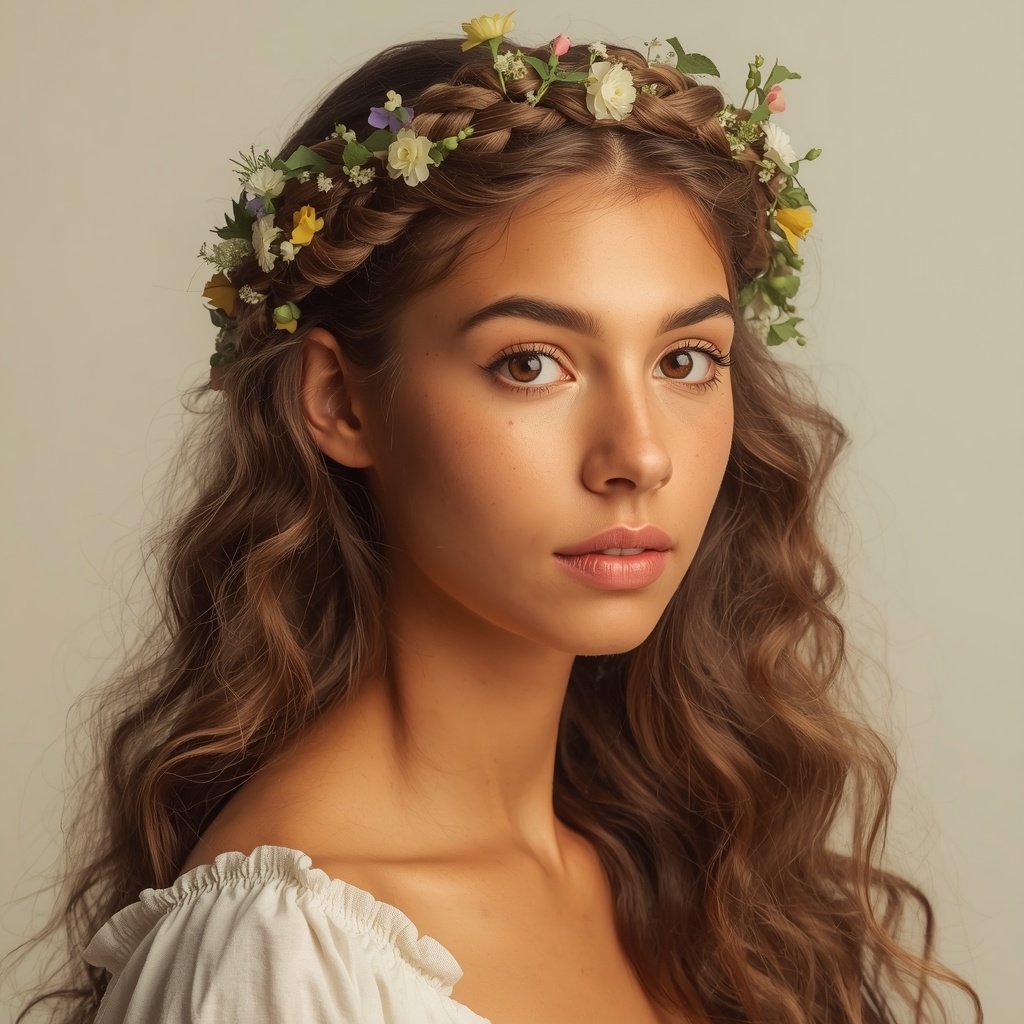
14. The Floral Crown Updo
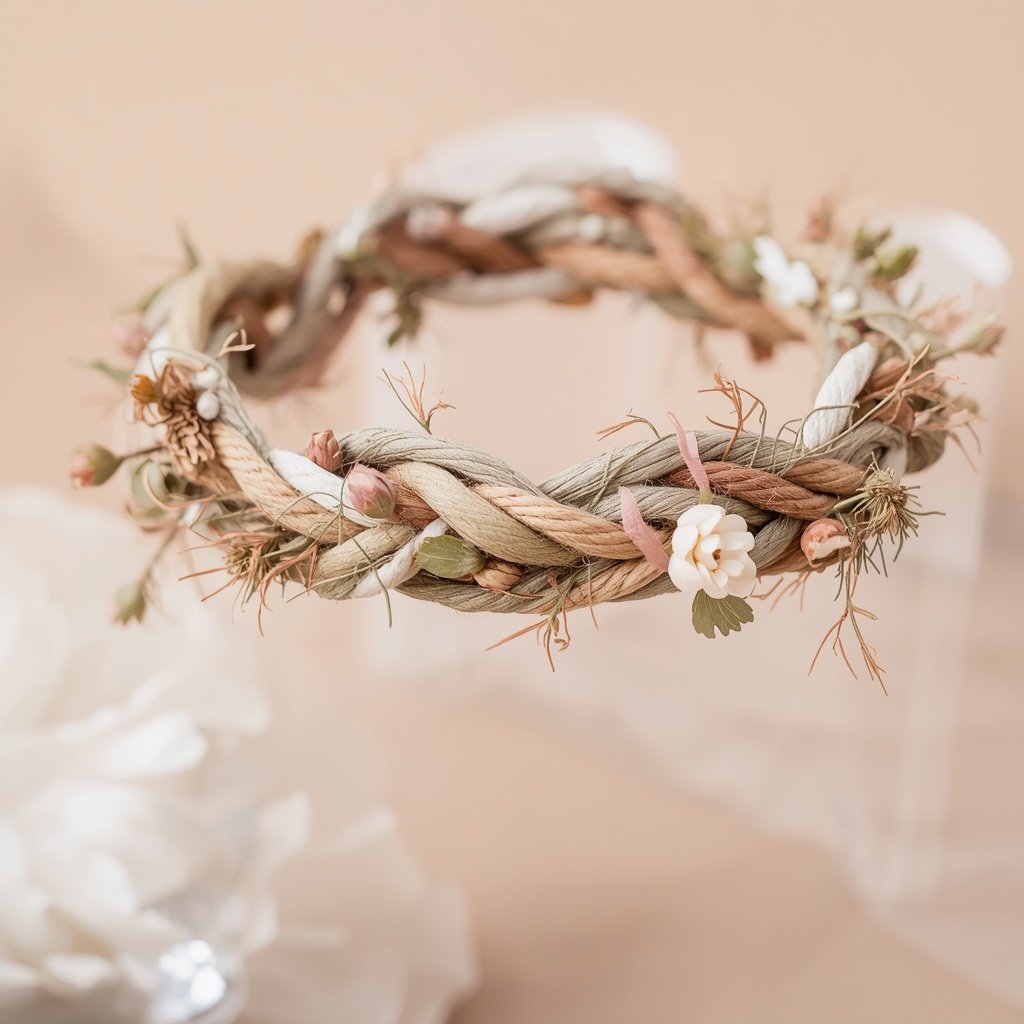
Skill level: Intermediate | Time: 30–45 minutes | Best for: Weddings, festivals, spring/summer occasions
Fresh or preserved flowers woven through a braided or pinned updo create one of the most romantically beautiful hairstyles imaginable. The floral crown updo is the most photographed hairstyle at outdoor weddings and festivals worldwide.
How to add flowers to a crown updo:
- For fresh flowers: Use small blooms with stems trimmed to approximately 2cm. Insert the stem through a bobby pin and use the pin to anchor the flower to the hair.
- For dried flowers: Available at craft stores, lighter and longer-lasting than fresh. Pin in the same way.
- For fabric flowers: The most durable option for all-day wear. Many bridal hair accessories are available as individual fabric flower pins.
Best flowers for hair: Baby’s breath, dried lavender, small roses, forget-me-nots, ranunculus, dried wheat, chamomile, and eucalyptus sprigs.
15. The Pearl Pin Crown
Skill level: Easy (as an embellishment) | Time: 5–10 minutes to add
Pearl pins scattered strategically through any updo or braided crown instantly elevate the look to bridal or formal territory. The placement of pearl pins can completely transform the sophistication level of any crown style.
How to use pearl pins effectively:
- Scatter irregularly for a natural, organic look
- Place in clusters of 3–5 pins for a more intentional arrangement
- Use along the length of a braid to highlight the texture
- Frame the face with a small cluster near the temple
- Create a constellation effect across the top of a bun
16. The Gold Chain Crown
Skill level: Easy | Time: 5–10 minutes to add
Delicate gold chain headpieces — draped across a braided crown, laced through a bun, or worn as a standalone crown accessory — are one of the most striking jewellery-adjacent hair trends of 2026.
How to incorporate a chain:
- Weave a thin gold chain through a braid before pinning it up
- Drape a headchain over a completed updo and anchor with bobby pins
- Use a chain with pendants as a forehead piece that leads into the crown style
- Attach a chain at the temple on each side, allowing it to drape across the top
Crown Hairstyle Accessories Trending in 2026
The right accessories transform a crown hairstyle from beautiful to breathtaking:
Pearl pins — The most versatile and timeless crown accessory. Scatter through any style for instant elegance.
Gold cuffs and rings — Wrapped around braids for a high-fashion editorial finish.
Dried flower arrangements — Lavender, baby’s breath, dried roses, and dried orange slices woven through braids.
Jeweled headbands — Wide or narrow bands embellished with crystals, pearls, or geometric jewels that sit across the crown.
Hair chains — Delicate gold or silver chains that drape across the head and anchor at either temple.
Tiaras and mini crowns — Having their biggest moment since the early 2000s — now worn more casually and playfully than formally.
Ribbon and velvet bows — Oversized satin or velvet bows as a contemporary crown accessory.
Feathers — Especially beautiful woven through boho and festival crown styles.
Crown Hairstyles for Every Hair Type
For Fine or Thin Hair
Fine hair creates beautiful, delicate crown styles — but needs extra support to maintain shape. Use texturizing spray before styling to add grip. Tease the roots lightly before creating updos for hidden volume. Use thin bobby pins that grip without sliding.
Best styles for fine hair: Twisted crown updo, milkmaid braid, half-up twisted crown. Avoid styles that require significant volume or density at the crown.
For Thick Hair
Thick hair creates the most impressive, voluminous crown styles — but requires more pins and stronger hold products to keep everything in place.
Best styles for thick hair: Halo braid, boho braided crown, elevated chignon. Thick hair creates a naturally dramatic crown effect that looks stunning in every style.
For Short Hair
Crown styles on shorter hair require creativity — but are entirely achievable and often strikingly beautiful in their simplicity.
Best for short hair: Small Dutch braid crowns using just the top section of hair, twisted crown with the back left short and natural, decorated with accessories to add visual impact.
For Natural and Curly Hair
Natural and curly hair creates some of the most stunning crown styles — the texture adds volume, definition, and a beautiful natural element that straight hair cannot replicate.
Best styles for natural hair: Flat twist crown, cornrow crown, Bantu knot crown, twist-out half-up crown. Embrace the natural volume and texture — it is the crown’s greatest asset.
Tips for Making Your Crown Hairstyle Last All Day
Start with the right foundation:
- Apply a volumizing mousse or texturizing spray before styling
- Use dry shampoo at the roots for extra grip if hair is freshly washed
- Blow dry or diffuse before styling for more manageable hair
Use the right pins:
- Bobby pins in your hair colour are less visible
- Criss-cross bobby pins over each other for a stronger hold
- Use at least twice as many pins as you think you need
Secure with multiple layers:
- Start with elastics for major structural support
- Add bobby pins for detail and security
- Finish with medium-hold hairspray
Emergency kit:
- Carry extra bobby pins in your bag
- A small travel hairspray for touch-ups
- A fine-tooth comb for smoothing flyaways
Final Thoughts
Crown hairstyles are among the most transformative and empowering styles in the world of hair. Whether you choose the accessibility of a simple twisted half-up crown, the romance of a floral halo braid, or the drama of a fully embellished updo — you will carry yourself differently when your hair is elevated into a crown.
The most important principle of any crown hairstyle is this: wear it with confidence. A perfectly executed crown worn with hesitation is less beautiful than a slightly imperfect one worn with the full knowledge that you look and feel like royalty.
Because you do. You are wearing a crown. Own it.